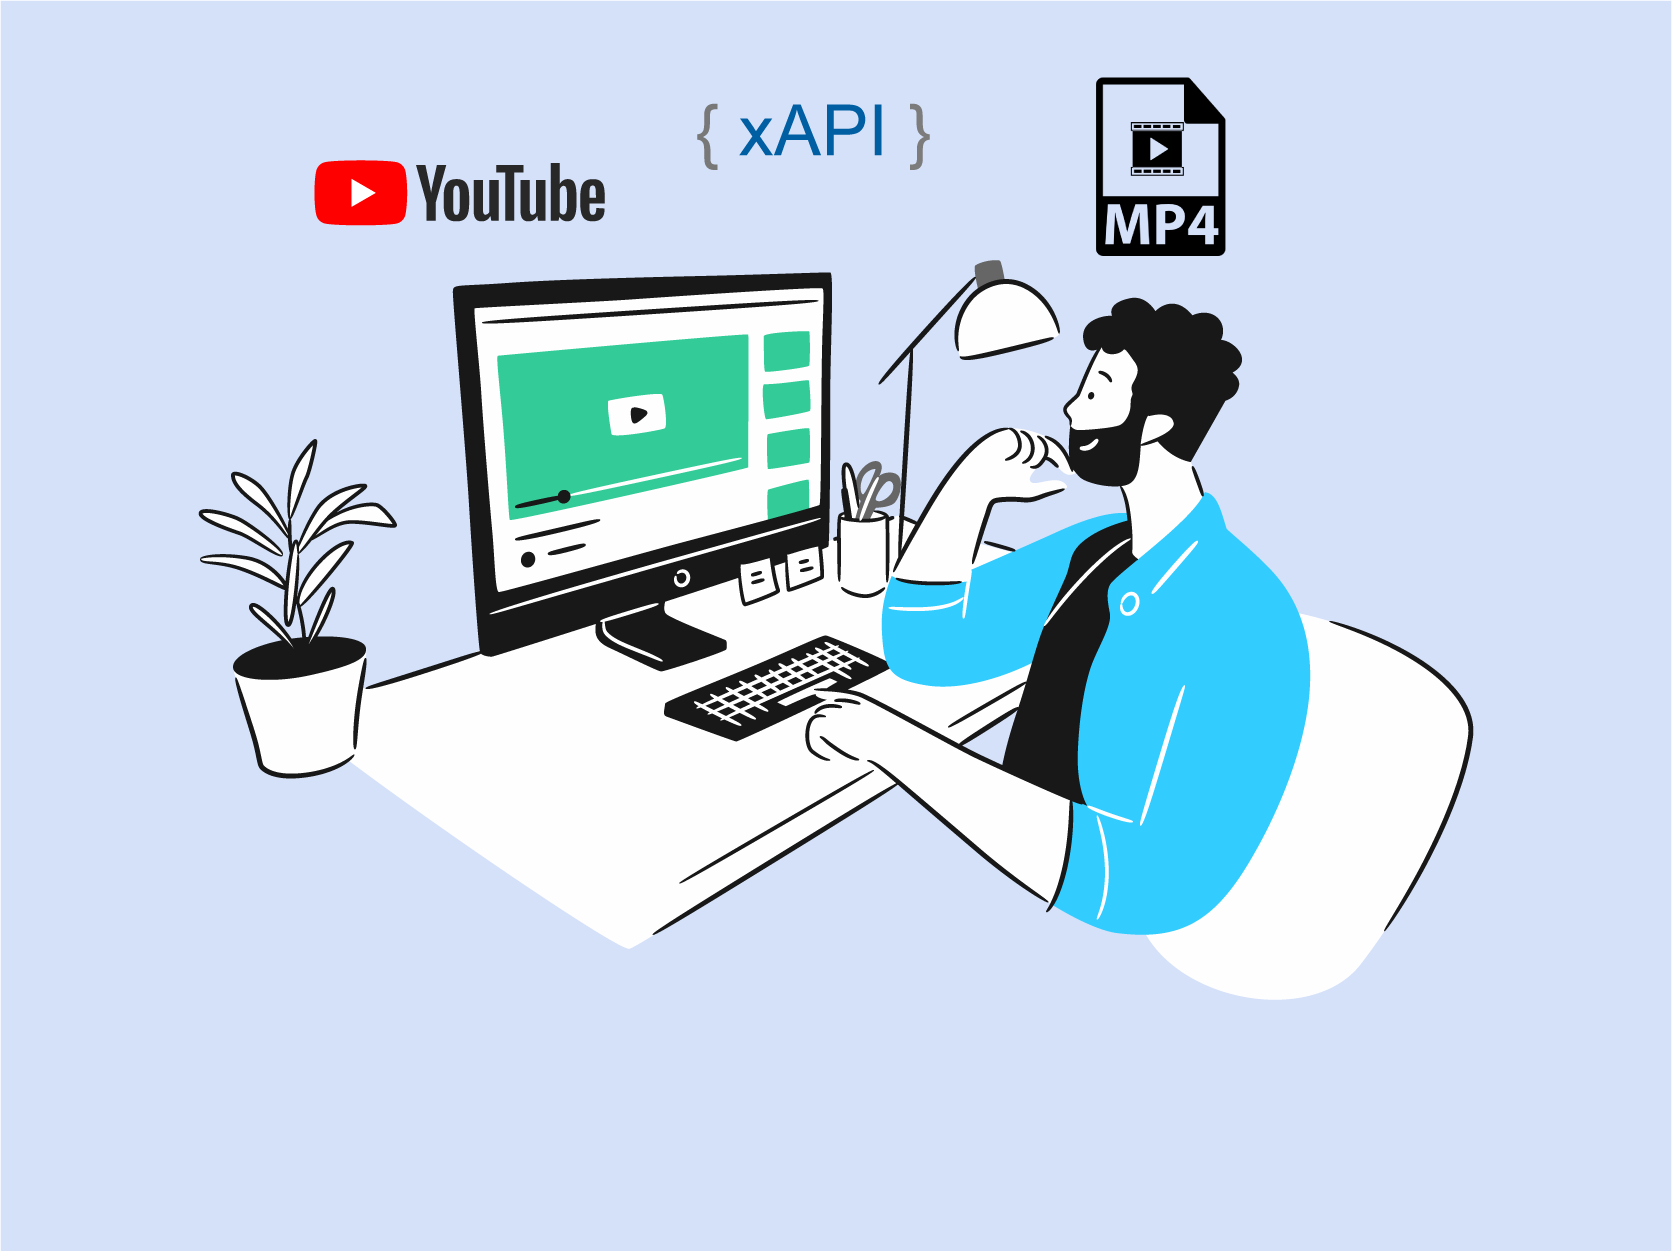
Video has become a ubiquitous tool in eLearning, providing a powerful content delivery format in many flipped, blended, and online synchronous courses as well as asynchounous courses. Videos are also one of the most widely used tools people lean on for help when performing a specific task at the moment of need (aka performance support).
Learning leaders, evaluators, engineers, and learning experience designers all strive to make effective use of video and understand its impact on learning and performance. But how do they know whether the video is effective or what parts of the video are the least or most utilized? This requires strategically collecting and analyzing video engagement data. Enhancing video content with the Experience API (xAPI) provides a means to collect video engagement data, but this often requires a lot of time to instrument the content as well as a technical understanding of how to implement the xAPI Video Profile. Veracity Learning includes a video player that tracks video interactions using the xAPI Video Profile for either uploaded mp4 files or YouTube video links. Using a Learning Record Store (LRS), such as Veracity Learning also provides a way to easily analyze the video engagement data. Want to save time and get started quickly with both tracking & analyzing video engagement data with Veracity Learning? Follow the steps in the sections below!
Use Veracity Learning’s Video Player to Track Video Interactions with xAPI
Follow the steps below to upload your mp4 video or link to your YouTube Video
- Create an account and/or login at https://lrs.io. Visit this Knowledge Base Article for more help with creating an account
- Click the “Create an LRS” button to create an LRS instance and give it a unique name. Visit this Knowledge Base Article for more help with creating an LRS
- Navigate to the new LRS instance by clicking it’s title
- Navigate to Management > Access Keys and create a new access key, and give it a unique name. Visit this Knowledge Base Article for more help with creating Access Keys
- Navigate to Learner Portal > Content. Visit this Knowledge Base Article for more help with using the Learner Portal
- To track a YouTube video, click the “Add a Link” button
- To track an mp4 video, click the “Upload Content” button and then click the “Choose Files’ button and select a video file from your device. NOTE: There is a 100mb file size limit for uploading videos
- Enter a unique identifier for the “ID” field
- For YouTube videos, enter the full URL for the YouTube video in the “Launch URL” field. For mp4 videos, the “Launch URL” field is pre-populated and should not be changed
- Add a unique title in the “Title” field and a description of the video in the “Description” field
- Select “Tincan - xAPI” for the Learning Standard
- Uncheck the “Track Session”, “Sign xAPI Statements”, and “Append Context” checkboxes
- Check the “Public” option if you wish the video to be available to anyone. NOTE: If you do not check the public option, it will require a learner account to be created to access the video. Visit this Knowledge Base Article or this YouTube Video for more information about how to add learner accounts to the learner portal
- Select “Veracity Video Player” as the Player Type
- Click the “Edit” button to save the settings
- The video is now available to any learners with an account in the Learner Portal. Alternatively, you can provide anonymous access to the video by clicking the edit icon and then “Get Anonymous Link”
Build a Video Histogram in Veracity Learning
Once your users have watched the video and generated some xAPI data, it will be available in the LRS. The Video Histogram chart in Veracity Learning displays a heat map and a heat legend for the most played segments of a video. The legend count will dynamically update based on the number of played segments.
Follow the steps below to view a histogram chart with Veracity Learning’s Statement Viewer and the default Video Overview Dashboard.
- Login at https://lrs.io
- Navigate to the LRS instance where the xAPI video engagement data is stored
- Click on “xAPI Data > Statements” to access the Statement Viewer
- Locate the video object and filter on the Terminated Statement associated with the video object
- Click on the “Graphs for this Object” icon
- Your video histogram will appear on the Video Overview Dashboard for the video object (along with other basic charts associated with the video)
Follow the steps below to build a histogram chart with Veracity Learning’s custom dashboard tools.
- Login at https://lrs.io
- Navigate to the LRS instance where the xAPI video engagement data is stored
- Click on “Analytics” and then navigate to “Custom Dashboards.” Visit this Knowledge Base Article for more help with creating Custom Dashboards.
- Click the “New Dashboard” button and then enter a title for the dashboard
- Next, on the “Add a Widget” screen, click “Other Options”
- Scroll down and click “Video Histogram”
- Enter any part of the title of the video, and then click the search button. NOTE: You will need to know the title of the video in advance and may need to determine this before using the widget if it isn’t showing up in the search results.
- Click the title of the video search result you would like to use for the histogram and then click the “OK” button. NOTE: Your current selection will be highlighted.
- Your new video histogram should now be displayed on the custom dashboard. NOTE: The histogram widget will not display anything if no data has been generated or if there is no data available within the date range you specified.
A video histogram chart example is provided below. You can also see simple Video Engagement Dashboard (including a histogram chart) created in Veracity Learning by opening this link.
TECHNICAL NOTE: The video histogram widget in Veracity Learning uses the "playedSegments" extension (https://w3id.org/xapi/video/extensions/played-segments) from the xAPI Video Profile. This extension reports a series of segments that have been played during a video session. The LRS will take the final playedSegments value from each session's Terminated statement (http://adlnet.gov/expapi/verbs/terminated), compute the overlap of all matching sessions, and render the histogram chart. It also requires the video length extension (https://w3id.org/xapi/video/extensions/length). According to the xAPI Video Profile, this extension is required with the Initialized (http://adlnet.gov/expapi/verbs/initialized) Statement for any given video session. The LRS will use the most recent Initialized Statement for a given video's object.id, so it assumes that the video length value does not change.
Additional Resources
- Uploading Videos to Veracity Learning’s Video Player - A quick overview of uploading videos to the Veracity Learning Video Player
- Video Overview Dashboard - A quick overview of the Video Overview Dashboard
As usual, please reach out if you have questions, comments, or require support.